Specifying a 0.40-Inch 1440x1080 Near-Eye Module for Head-Mounted Medical Viewers
A 0.40-inch near-eye optical module with 1440x1080 resolution, a 30 degree field of view, 90% DCI-P3 coverage and a MIPI interface is a reasonable starting point for a head-mounted medical viewer, but the number that decides whether a clinician can follow a thin vessel edge or an annotator line is not printed on the module page: it is the brightness, contrast and viewing-angle behaviour of the complete optical train. Teams that specify only the panel routinely discover, a month later, that the eyepiece, the combiner, the face seal and the room lighting dominate what reaches the eye. The workable method is to treat the module as one line item in an optical budget, to write the acceptance criteria at the pupil rather than at the panel, and to bring up the MIPI link early enough that a link fault is never mistaken for an optical one. The sections below walk through that method for the 0.40-inch 1440x1080 class of part and for viewers worn on the head during procedures.
Key takeaways
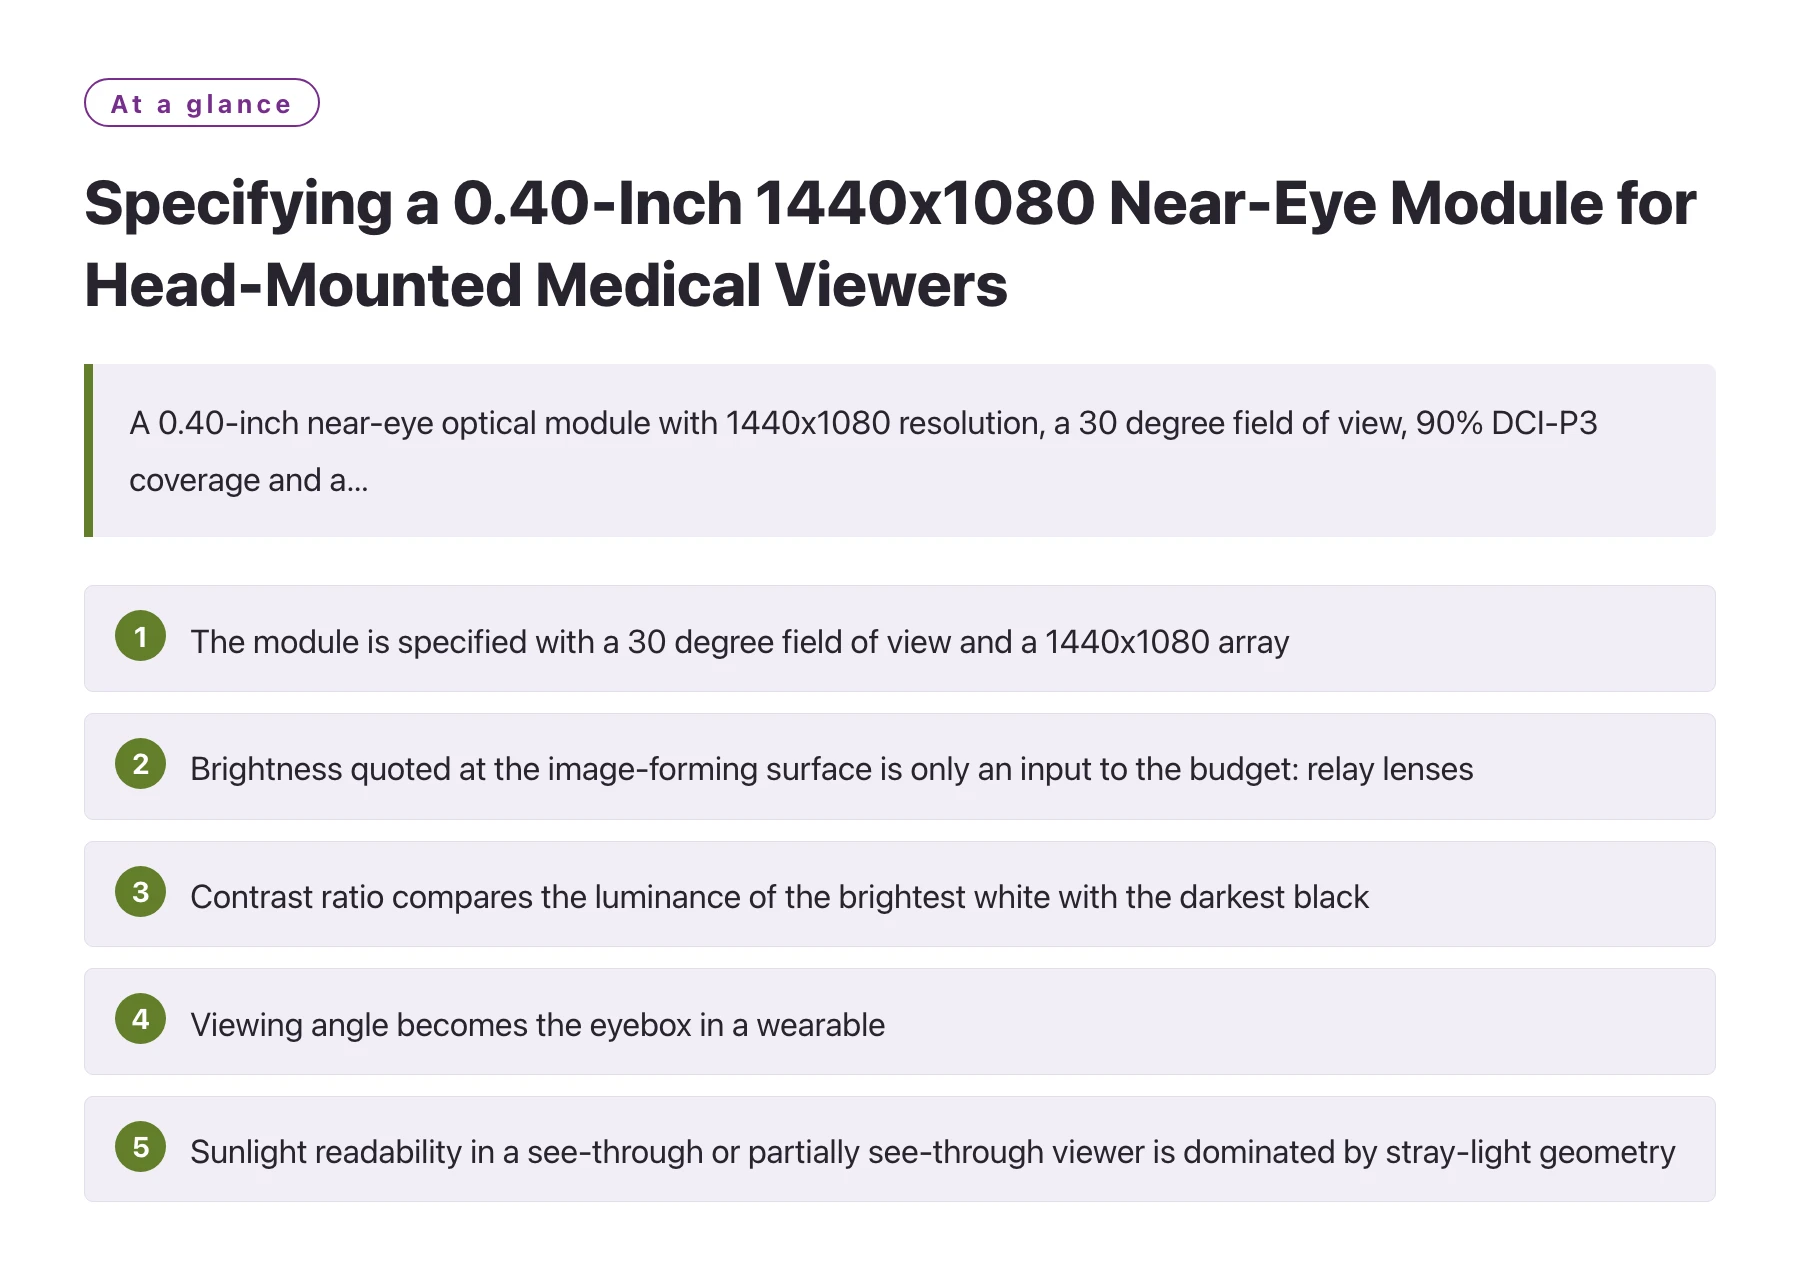
- The module is specified with a 30 degree field of view and a 1440x1080 array, so the quantity an optical engineer should carry into the design review is angular pixel density, roughly 48 pixels per degree, not the raw pixel count.
- Brightness quoted at the image-forming surface is only an input to the budget: relay lenses, cement layers, combiners, windows and coatings each remove light, and the product is judged on luminance at the pupil.
- Contrast ratio compares the luminance of the brightest white with the darkest black, and in a worn viewer any ambient light reaching the eye is added to the black level, so bench contrast overstates what a clinician sees in a lit room.
- Viewing angle becomes the eyebox in a wearable, and a viewer that forces the user to hunt for the image is a mechanical and optical problem rather than a panel problem.
- Sunlight readability in a see-through or partially see-through viewer is dominated by stray-light geometry, so baffles, face seals and coating choices belong in the same trade study as the module choice.
Head-mounted medical viewers sit in an awkward place between consumer augmented reality and bench instrumentation. The user wears them for a whole procedure, needs both hands free, and expects the image to stay legible while the room lighting changes around them. A module with a MIPI interface and a 30 degree field of view is a natural candidate for that job, because the interface suits a small wearable host and the field of view is narrow enough that a compact relay can fill it.
The trap is that module selection gets treated as the whole design. Brightness, contrast and viewing angle are quoted for a component measured in controlled conditions, while the clinician experiences the assembled product in a room with windows, task lamps, monitors and reflective stainless steel. Bridging those two views is the actual engineering task, and it happens in the optics, the housing and the firmware rather than in the purchase order.
This article looks at the four parameters named in the brief - brightness, contrast, viewing angle and sunlight readability - as one coupled budget, then sets out a bring-up order that isolates link faults from optical faults and a set of questions worth asking a supplier before tooling is committed.
Start at the pupil, not at the panel
A 0.40-inch near-eye module is bought as a display and installed as the light engine of a magnifier. The diagonal and the 1440x1080 pixel array are fixed inputs; what the user actually sees depends on how those pixels are relayed to the pupil and on what the surrounding mechanics allow into the optical path. Two products built around the same module can differ sharply in perceived sharpness and contrast, and the difference is almost never the panel.
Field of view is the bridge between the two worlds. This module is specified with a 30 degree field of view, so its 1440 horizontal pixels are spread across 30 degrees rather than across a physical width the eye can measure directly. Dividing one by the other gives roughly 48 pixels per degree, which is the figure worth carrying into an optical design review, because it describes what the eye is actually asked to sample. A longer eye relief, a wider field or a different magnifier changes that effective value even though the module itself has not changed at all.
Pixel density versus angular density
Pixel density is normally quoted as pixels per inch, which measures how tightly pixels are packed on the physical surface. [2] For a panel with a 0.40-inch diagonal the pixels-per-inch figure is very large, and for a head-mounted viewer it is largely beside the point, because the user never views that surface at that scale.
What matters is how many pixels fall inside one degree of visual angle after magnification. Increase magnification to fill a larger field and each pixel subtends a wider angle until the pixel grid becomes visible and single-pixel lines begin to alias; reduce it and the image occupies less of the retina than the eye can resolve, wasting resolution the module already provides. The relay design is therefore a negotiation between the 30 degree field, the required eye relief and the smallest feature a clinician must distinguish.
Where contrast actually comes from
Contrast ratio is defined by the relationship between the luminance of the brightest white and that of the darkest black a display can produce. [3] On a bench, in a dark room, a near-eye module can be driven to a very low black level, and the resulting ratio looks impressive in a datasheet table.
In a worn viewer that bench figure is only a starting point. Any ambient light that reaches the eye, whether through a see-through combiner, around a foam gasket or as a reflection from the inner surface of a visor, is added to the black level while the white level stays roughly where it was. The perceived contrast of the product therefore depends on the assembly and the room, and it has to be measured with the device worn and the lighting set the way it will be during use.
Brightness, contrast and viewing angle form one budget
Brightness is quoted in candela per square metre at the image-forming surface. What the eye receives is that value reduced by every element in the path: relay lenses, cemented interfaces, any combiner or beam splitter, protective windows and anti-reflective coatings. A specification written without those losses describes a component rather than a viewer, and that gap is where most first prototypes disappoint.
Viewing angle is usually described as the maximum angle at which an image remains acceptable. In a wearable that translates into the eyebox: the volume in front of the eyepiece from which the full field stays visible. A generous eyebox tolerates a clinician putting the viewer on in a hurry, while a tight one forces the user to hunt for the image, which is precisely the wrong behaviour during a procedure. Eyebox size and field of view trade against each other, and both are set by the relay rather than by the module.
Before freezing the relay, collect the module's mechanical outline, interface definition and optical figures and compare them with what the optomechanics can realistically deliver. For a 0.40-inch 1440x1080 near-eye module with a MIPI interface and 90% DCI-P3 coverage, Learn more on the product page and check those figures against the budget just written. Doing that early costs an afternoon; discovering an eyebox problem after the housing tool has been cut costs a re-spin.
The acceptance test belongs at the pupil, because that is where the product is judged.
Mapping viewer requirements to the attributes worth verifying
| Viewer requirement | Module-side attribute | What to measure on the bench | Usual failure mode |
|---|---|---|---|
| Legible thin lines for vessels, catheters and overlays | 1440x1080 array spread over a 30 degree field | Angular pixel density with the actual relay magnification | Over-magnification makes the pixel grid visible and single-pixel lines shimmer |
| Deep blacks around a bright region of interest | Black level the module reaches in a dark room | Luminance at the pupil with a fully black frame | Stray or reflected ambient light lifts the black level and collapses perceived contrast |
| Colour-coded overlays that match the source image | 90% DCI-P3 colour coverage | Gamut measured after the relay and after any coating tint | Cement or coating absorbs in the blue, so overlay colours drift from the reference monitor |
| Stable image across a long procedure | MIPI interface and host link configuration | Error counters, frame integrity and temperature over a soak run | Link retraining or dropped frames get blamed on the display when the cable or clock is at fault |
| Comfortable on the head for an extended session | Module outline, mounting and interface routing | Weight and centre of gravity with the eyepiece and cable fitted | A front-heavy assembly tilts forward and pulls the pupil out of the eyebox |
A bring-up order that separates link faults from optical faults
- Validate the MIPI link before any optic is fitted. MIPI DSI is a high-speed serial display interface whose bring-up depends on lane count, clock rate and signal integrity. [1] Prove the display initialises and holds a stable image on the bare board so later artefacts cannot be blamed on the optics.
- Drive a fixed test pattern rather than a live camera. A checkerboard, a one-pixel line grid and a grey ramp expose aliasing, dead columns and gamma errors that a moving endoscopic or ultrasound image conceals. Record the pattern in the test report so a later build can be compared against the same reference.
- Measure luminance and contrast at the pupil. Place a calibrated meter or imaging camera at the design eye position with the device in its final housing, and report the brightest white and darkest black at that point rather than at the panel surface.
- Sweep the ambient light level. Repeat the measurement in a darkened room, in a normally lit procedure room and under direct task lighting. The fall in perceived contrast across that sweep is the honest sunlight-readability figure for the assembly.
- Map the eyebox by moving the viewer, not the target. Rotate and translate the module in front of the meter and note where the corners of the 30 degree field begin to dim or clip. That map shows how forgiving the product is to wear, which a single centred reading never will.
Run the sequence in this order and the first failure found will point at the right subsystem.
A bench measurement taken with the optics removed will always flatter the design. Write the acceptance criteria for the completed viewer, at the pupil, in the housing, under the lighting of the intended room, and treat any panel-level number as an input to the budget rather than as a result. An optical coupon assembled from the real coatings and the real face seal is cheap next to a housing re-spin.
Sunlight readability and the room a medical viewer lives in
Sunlight readability is often discussed as a panel property, but in a see-through or partially see-through viewer it is dominated by geometry. Light entering from behind the user, or a bright window in front of them, reflects from the outer surface of the visor and from the inner surfaces of the relay, and that reflected light is added to every pixel including the black ones.
The effective countermeasures are mechanical and optical rather than electronic: baffles and a well-fitted face seal to keep light out of the eyebox, coatings selected to suppress specular reflection rather than only to raise transmission, and a housing finish that does not behave like a mirror at grazing angles. Each of these costs weight, money or transmission, so they belong in the same trade study as the module choice rather than in a late cosmetic pass.
What to request when stray light is the problem
Ask for the reflectance of every coated surface and not only the transmission, because a stack that transmits well can still return a visible reflection into the eye at an unlucky angle. Suppliers can normally describe the coating stack and the substrate, and that is the data needed to model the black level under a bright window.
It also helps to fix the geometry of the worst case in advance. Decide whether the viewer will be used facing a window, under a surgical lamp or beside a bright monitor, and model that configuration early, because each one pushes the design toward a different combination of baffling and coating.
Holding colour under mixed lighting
The module's 90% coverage of the DCI-P3 gamut provides a wide palette, but a wide gamut is only useful if the white point can be held while the room changes around the user. Under tungsten task lighting and under daylight the visual system adapts differently, and a display calibrated to one fixed white point will look either warm or cold depending on the room.
The fix is a calibrated white point plus a decision about whether the user gets a control, and that decision has to be taken early because it affects firmware and the imaging pipeline. Deciding it after the viewer is in a clinical trial means either a firmware patch or a compromise that clinicians will notice.
Sunlight readability is a system property, and the module is only one contributor to it.
Sources
Frequently asked questions
Can a 0.40-inch 1440x1080 near-eye module be dropped into a head-mounted medical viewer without redesigning the optics?
Not without redesigning the relay, because the module's 30 degree field of view only becomes a usable image after magnification. The relay sets the angular pixel density, the eye relief and the eyebox, and those three determine whether the image is comfortable to wear. The module supplies the resolution and the interface, but the viewing experience is created downstream of it.
How should two near-eye modules be compared when their datasheets quote different numbers?
Convert both to the same reference point before comparing anything. Recalculate brightness to luminance at the pupil using the intended magnification and the measured transmission of the relay, and recalculate resolution to pixels per degree rather than pixels per inch. Numbers that have been normalised this way usually reorder the shortlist, and the exercise also reveals which suppliers can describe their optical path in engineering terms.
Why does a see-through viewer look washed out in a bright room even though the display is bright?
Because ambient light is added to the black level while the white level barely moves, so the ratio between them collapses. The reflection can come from the outer visor surface, from internal relay surfaces or from light leaking past the face seal. Reducing it is a matter of baffling, sealing and coating selection, and the improvement is measured at the pupil rather than at the panel.
What has to be settled about the MIPI interface before the display board is laid out?
The lane count, the clock rate, the supply rails and the initialisation sequence all have to be confirmed against the module documentation, because those determine trace routing, connector choice and the host's boot order. MIPI DSI is a high-speed serial display interface, so signal integrity and termination deserve attention early. A short bring-up on the bare board with a fixed test pattern is the cheapest way to prove the link before optics are involved.